Think of your home’s electrical system as a network of carefully planned highways. When you decide to add a new circuit, you’re essentially building a new road. The project of running electrical wire in attic spaces is like constructing that road through challenging terrain. You can’t just lay it anywhere; you have to follow a specific path, avoid obstacles, and build it to withstand traffic and the elements. This guide is your roadmap. We’ll cover the official rules of the road—the electrical codes—and the safety precautions you need to take to ensure your new connection is secure, reliable, and built to last for years to come.
Key Takeaways
- Safety Isn’t Optional: Always begin by shutting off the power at the main panel and using a voltage tester to confirm the circuit is dead. Following basic electrical codes, like using guard strips to shield exposed cables, is crucial for preventing fire hazards and ensuring your work is safe.
- Protect Wires from Physical Damage: The way you run your wires matters. Prevent future problems by drilling holes at least 1 ¼ inches from the edge of a joist and securing the cable with staples every 4.5 feet to keep it from being pinched, snagged, or punctured.
- Recognize When to Call an Electrician: A DIY project can quickly become complex. If you discover old or damaged wiring, realize you need a new circuit, or simply feel uncertain about any step, it’s the smartest and safest choice to contact a licensed professional.
Your Attic Wiring Safety Checklist
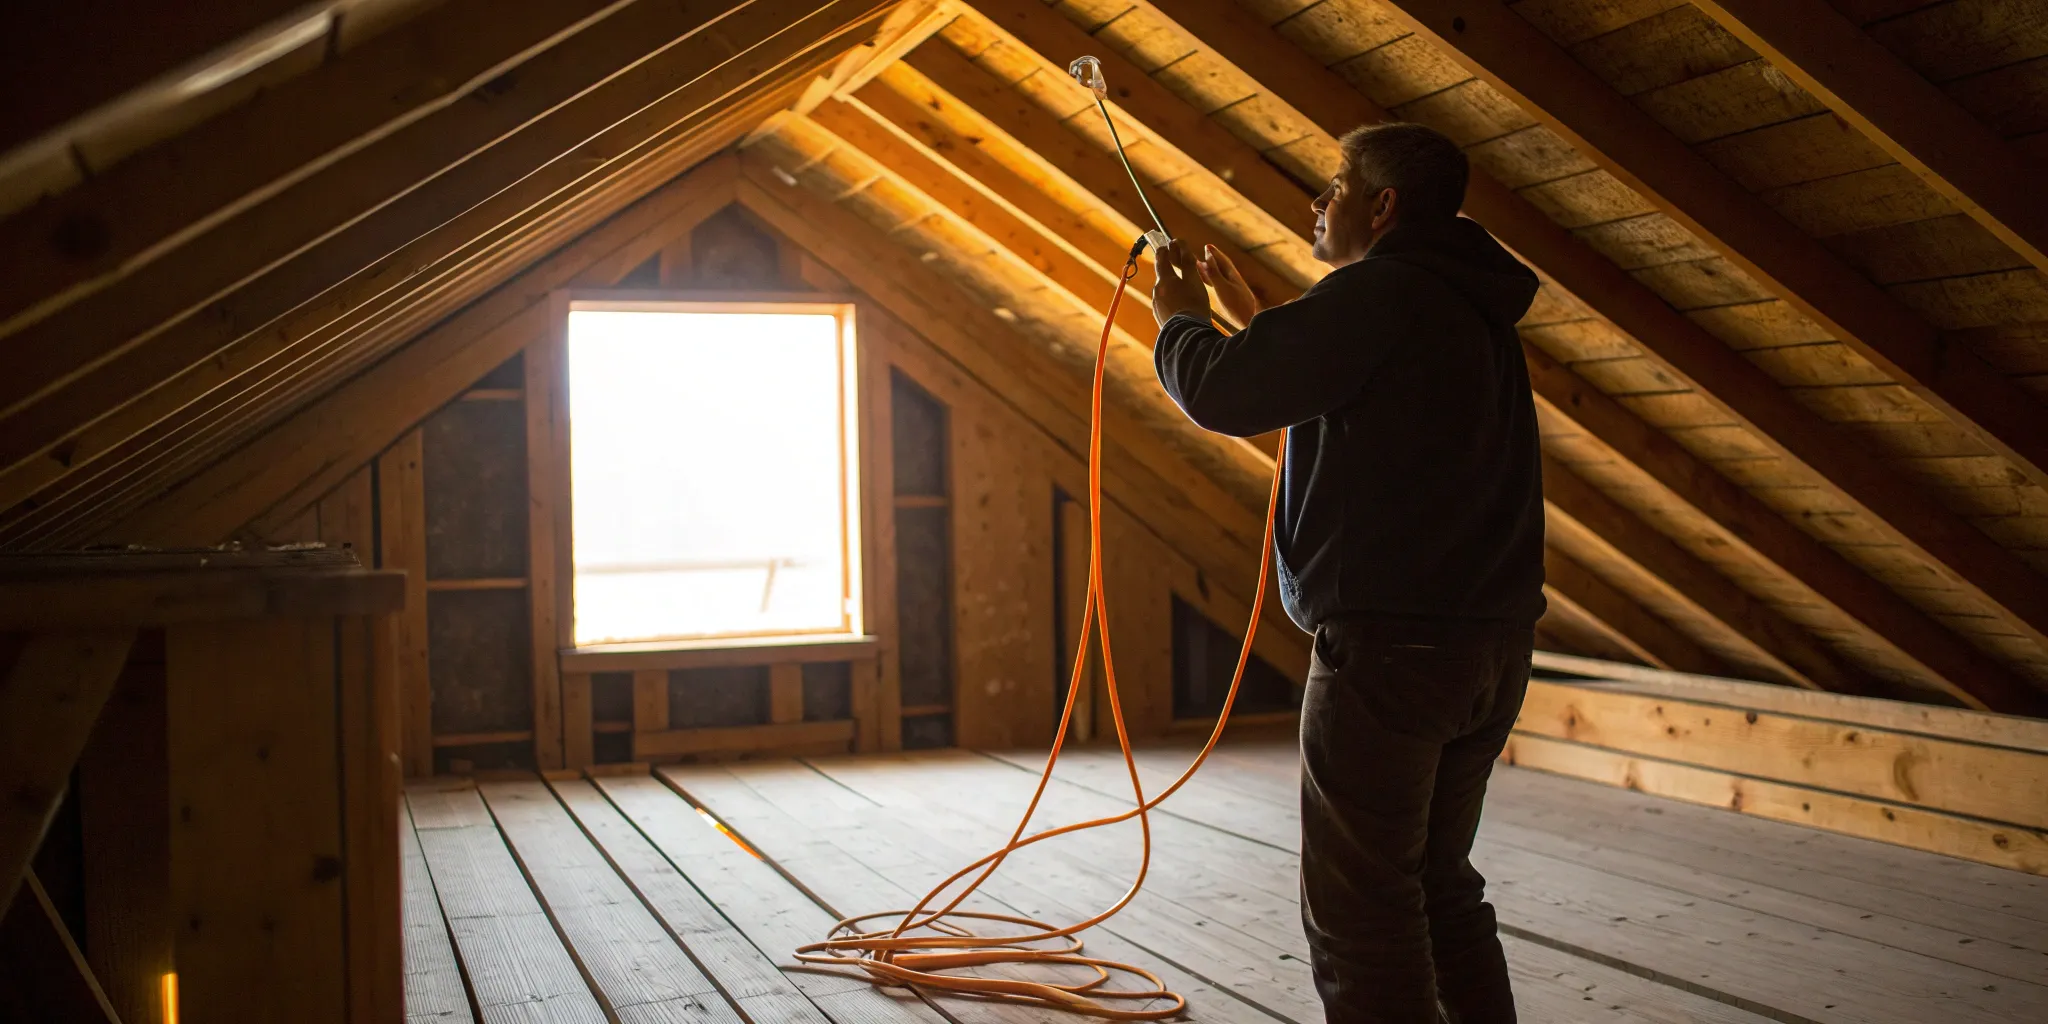
Before you pull a single wire or drill any holes, it’s essential to focus on safety. Working in an attic presents unique challenges, from tight spaces and poor lighting to the obvious risks of handling electrical components. Following a safety checklist isn’t just about following rules; it’s about protecting yourself, your home, and your family. Taking a few minutes to prepare can prevent accidents and ensure your project goes smoothly from start to finish. Think of these steps as the foundation for any successful and safe electrical work you do.
Shut Off the Power
This is the most important rule of any electrical project, and it’s non-negotiable. Before you even head up the attic ladder, go to your main electrical panel and shut off the power to the circuits you’ll be working on. Don’t just flip a switch and assume it’s the right one. Use a voltage tester to confirm that there is no power flowing to the outlets or fixtures in the area. This simple action is the single most effective way to prevent electrical shock. It’s a critical step that ensures your work environment is safe before you begin.
Gear Up: Essential Safety Equipment
Your attic is likely dusty and filled with insulation, so protecting yourself is key. Wear a long-sleeved shirt, pants, and gloves to shield your skin from irritating materials like fiberglass. Safety glasses are a must to keep dust and debris out of your eyes, especially when you’re looking up or drilling. A dust mask or respirator will protect your lungs from inhaling airborne particles. Finally, since most attics are poorly lit, a good headlamp is invaluable. It keeps your hands free and ensures you can clearly see your work area, helping you avoid missteps and other hazards.
Map Your Route and Spot Hazards
Once you’re in the attic, take a moment to get your bearings. Be aware of the attic’s layout and identify a safe path to walk. Always step directly on the wooden joists or rafters—never on the drywall or insulation in between, as it won’t support your weight. Look for potential hazards like roofing nails sticking through the sheathing, low-hanging rafters, or animal nests. Plan the route for your new wire, noting any obstacles you’ll need to work around. If the space is extremely tight or you find unexpected issues, it may be time to call for professional electrician repairs.
Meeting Code: What Are the Rules for Attic Wiring?
When it comes to electrical work, safety isn’t just a good idea—it’s the law. The National Electrical Code (NEC) provides the official rules for all electrical installations, including the wiring in your attic. These guidelines are designed to protect your home and family from fire hazards and electrical shocks. While some rules might seem overly specific, they’re all based on real-world scenarios to ensure every installation is safe and reliable.
Understanding these codes helps you see why certain steps are so important. It’s not just about stringing a wire from point A to point B; it’s about doing it in a way that won’t cause problems down the road. Whether you’re planning a DIY project or hiring a professional, knowing the basics of attic wiring code ensures the job is done right. If you ever feel unsure about these requirements, our team is always ready to handle your residential electric needs safely and correctly.
NEC Basics for Your Attic
The first thing the NEC considers is how accessible your attic is. This single detail changes many of the rules for running wires. An attic is considered “accessible” if it has a permanent staircase or a fixed ladder. Think of it this way: if you can easily walk up into the space, it’s accessible.
On the other hand, if your attic can only be reached through a scuttle hole or access panel that requires a portable ladder, it’s generally considered “not accessible.” This distinction matters because an accessible attic is more likely to be used for storage or even converted into living space, which increases the risk of wires being damaged.
Clearance and Spacing Rules
Based on your attic’s accessibility, the rules for protecting wires change. In an accessible attic with permanent stairs or a ladder, any electrical cable running across the top of the floor joists must be protected. This prevents damage from someone stepping on the cable or placing a heavy storage box on it.
For attics that are not easily accessible, the rules are a bit more relaxed. You are only required to protect cables that run within six feet of the attic entrance. Beyond that six-foot zone, the risk of the wiring being disturbed is much lower, so the same level of protection isn’t required.
How to Protect Wires in Accessible Attics
So, what does “protecting” the wires actually mean? In an accessible attic, if a wire has to run across the top of the joists, you must install guard strips on both sides of it. These are typically just small wooden boards, like 1x2s, that are nailed down parallel to the wire.
The key rule is that the guard strips must be at least as tall as the cable itself. This creates a protective channel that shields the wire from foot traffic and storage. If you find exposed or improperly protected wires in your attic, it’s a good idea to call for professional electrician repairs to get them up to code.
Rules for Drilling Through Joists
Often, the safest and cleanest way to run wires is by drilling holes through the center of the joists instead of running them over the top. The NEC has a specific rule for this: the edge of the hole must be at least 1 ¼ inches away from the nearest edge of the wood joist. This ensures you don’t weaken the structural integrity of the framing.
However, there’s a critical exception: never drill through engineered wood products, like roof trusses or I-joists, without an engineer’s approval. These are specifically designed to bear weight in a certain way, and drilling a hole can compromise their strength, putting your home’s structure at risk.
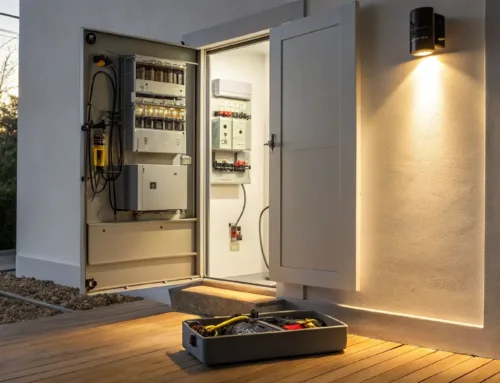
The Right Tools and Materials for the Job
Having the right equipment on hand before you head up into the attic makes the entire job smoother and safer. Think of it as setting yourself up for success. When you’re not scrambling to find a tool or second-guessing your materials, you can focus on doing the work correctly and carefully. This isn’t just about convenience; it’s about ensuring every connection is secure and every wire is protected according to code. Before you start any project, gathering your tools and materials is the essential first step. It ensures you can work efficiently without cutting corners, which is especially important when dealing with your home’s electrical system. Getting this part right is key to a safe and successful installation that will stand the test of time.
Must-Have Tools for a Safe Install
Safety is non-negotiable when you’re working with electricity. Before you do anything else, go to your main electrical panel and shut off the power to the area where you’ll be working. Then, double-check with a voltage tester to be absolutely certain the circuit is dead. This single step is the most important one you’ll take. Next, gear up. You’ll want to wear safety glasses, gloves, a long-sleeved shirt, and pants. This isn’t just for show—it protects you from dust, fiberglass insulation, and stray splinters. Having the right protective gear makes the job more comfortable and prevents minor injuries that can happen when you’re focused on the task at hand.
Choosing the Right Wire
Picking the correct wire is crucial for safety and code compliance. The most common type for residential projects is non-metallic (NM) sheathed cable, often called Romex. The gauge of the wire you need depends on the circuit’s amperage—a 15-amp circuit typically uses 14-gauge wire, while a 20-amp circuit requires 12-gauge. If you plan to drill holes through joists to run your wire, follow this key rule: the edge of the hole must be at least 1 ¼ inches from the edge of the wood. This spacing prevents a future nail or screw from accidentally piercing the wire. For any questions about your specific residential electric needs, it’s always wise to consult the code or a professional.
Hardware for Protecting Your Wires
In an accessible attic—one you can enter and walk or crawl around in—your wires need protection from physical damage. If you run cables across the top of the floor joists, you can’t just leave them exposed where they could be stepped on or crushed by storage boxes. You’ll need to install guard strips, which are typically 1×2 wood strips, on each side of the cable to shield it. Another option is to secure the cable to a running board, like a 1×4, that runs across the joists. These measures aren’t just good ideas; they are required by electrical code to prevent damage that could lead to a fire hazard or electrical failure down the road.
How to Secure and Protect Attic Wires
Once your wires are routed, the job isn’t finished. Leaving them loose or exposed is a major safety hazard and a code violation. Properly securing your attic wiring prevents damage from foot traffic, stored items, and pests, ensuring the longevity of your electrical system and the safety of your home. Think of it as creating a clear, protected pathway for your home’s power. Following these next steps will help you secure your wiring like a professional and avoid common mistakes that could lead to serious problems.
Proper Spacing and Securing Techniques
The key to securing wires is keeping them neat and out of harm’s way. For non-metallic (NM) sheathed cable, the rule is to secure it with staples or clips at least every 4.5 feet. When you run cables parallel to framing members like joists or rafters, attach them directly to the side of the wood. This keeps the wires tucked away and protected from accidental damage. If you’re ever unsure about the right way to fasten your wiring, our team handles all types of electrician repairs and can ensure your project is done safely.
Installing Guard Strips Where Needed
Things get different when you run a wire across the top of floor joists, especially in an attic accessible by stairs or a permanent ladder. Here, wires are vulnerable to being stepped on or crushed by storage boxes. To protect them, you must install guard strips—typically 1×2 wood strips—on both sides of the cable. These strips act as a physical barrier, shielding the wire from impact. This simple step is required by code and is a non-negotiable part of keeping your home’s electrical system safe and reliable.
Using Steel Plates to Prevent Damage
Sometimes, the only way to run a wire is by drilling through a joist or stud. When you do this, a critical rule applies: the edge of the hole must be at least 1 ¼ inches from the edge of the wood. This setback prevents a future nail or screw from piercing the wire. If you can’t maintain that clearance, you must protect the wire by installing a steel plate over it. These thin but tough plates, at least 1/16 inch thick, are nailed over the wire where it passes through the framing, acting as armor against stray fasteners.
Running Wire Through Your Attic: A Step-by-Step Guide
With your safety gear on and the power off, you’re ready to start the project. Running wire through an attic might seem straightforward, but it requires precision and a solid understanding of electrical codes. Following a clear process will help you keep the work clean, safe, and up to standard. Here’s how to approach the job one step at a time.
Step 1: Plan and Measure Your Route
Before you drill a single hole, map out the entire path for your new wire. The best routes often run alongside framing members like joists and rafters. This keeps the wiring organized and out of the way for anyone who needs to access the attic later. Measure the complete distance from your starting point to the end, and add extra length to give yourself plenty of slack to work with—it’s always better to have too much wire than not enough. Careful planning is the first step in any successful residential electrical project and ensures a much smoother installation process.
Step 2: Drill Through Framing Correctly
When your path requires you to go through joists, drilling correctly is critical. Use a drill bit that creates a hole just large enough for the cable to pass through comfortably. According to code, the edge of the hole must be at least 1 1/4 inches from the edge of the wood joist to protect the wire from future nails or screws. Be extremely cautious with engineered I-joists or trusses; drilling into these can compromise your home’s structural integrity. If you’re unsure, it’s always best to consult with a professional to avoid causing serious damage that requires expert electrician repairs.
Step 3: Pull and Install the Wire
Now it’s time to run the wire. Gently pull the cable along your planned route, feeding it through the holes you’ve drilled. Avoid pulling too hard, as this can damage the wire’s protective sheathing. Once the wire is in place, you’ll need to secure it. The National Electrical Code (NEC) requires you to fasten the cable with staples or clips every 4.5 feet and within 12 inches of any electrical box. This prevents the wire from sagging and keeps it protected. Make sure the staples are snug but not so tight that they pinch or damage the cable’s insulation.
Step 4: Work Around Insulation and Heat
Heat is the enemy of electrical wiring. As you run your cables, be mindful of insulation and any heat-producing fixtures. Never run wires directly over or near recessed lighting fixtures unless they are specifically rated for it (IC-rated). You should also keep them away from chimneys, furnace flues, and other heat sources. Bundling too many wires together within insulation can also cause them to overheat, creating a serious fire hazard. Proper spacing ensures everything stays cool and safe, which is a key part of a professional and reliable electrical installation.
Avoid These Common Attic Wiring Mistakes
Even with the best intentions, a DIY attic wiring project can go wrong quickly. A simple mistake can create a serious fire hazard or damage your home’s structure. Knowing the common pitfalls is the first step to avoiding them. Think of this as your “what not to do” list—a guide to help you sidestep the errors we often see in the field. From exposed cables to improperly drilled holes, these mistakes are easy to make but can have significant consequences. Before you pull a single wire, make sure you understand these critical safety issues. If any of this feels overwhelming, remember that professional electrician repairs are always an option to ensure the job is done right. Getting it right the first time saves you headaches and keeps your home and family safe.
Leaving Wires Unprotected
One of the most common issues we find is electrical wiring left exposed across attic floors. If your attic is used for storage or is easily accessible by a permanent ladder or stairs, these wires are a major hazard. They can be stepped on, crushed by storage boxes, or chewed by pests, leading to damaged insulation and a risk of fire. The National Electrical Code requires that any cables running across the top of floor joists must be protected. You can do this by installing guard strips—like simple 1×2 wood strips—on each side of the cable. These strips act as a physical barrier, preventing accidental contact and damage.
Damaging Your Home’s Structure
Running wire often means drilling holes through your home’s framing, but doing this incorrectly can weaken your house. When drilling through solid wood joists, the edge of the hole must be at least 1¼ inches from the edge of the joist. If you can’t maintain that distance, you must install a metal plate to protect the wire from future nails or screws. More importantly, you should never drill through engineered wood products, like roof trusses or I-joists, without an engineer’s approval. These components are designed to handle specific loads, and drilling a hole in the wrong spot can compromise their integrity, turning a simple wiring job into a major structural problem.
Ignoring Electrical Codes
Electrical codes aren’t just suggestions; they are legally enforceable standards designed to ensure safety. For attic wiring, specific rules dictate where and how you can run cables. For instance, if your attic has a simple scuttle hole for access, wiring must be kept at least six feet away from the edges of the opening. If you have permanent stairs or a ladder, that clearance increases to seven feet. These rules prevent wires from being accidentally grabbed or damaged as you enter the space. Ignoring these codes can not only create unsafe conditions but also cause you to fail a home inspection, which can complicate future sales or residential electric projects.
When Should You Call a Professional Electrician?
While tackling a DIY project can be incredibly rewarding, electrical work isn’t the place to test your limits. Safety has to be the top priority, and there’s no shame in calling for backup when you’re dealing with your home’s complex electrical system. Knowing when to step back and let a professional handle things is a sign of a smart homeowner, not a failed DIYer. Even if you’ve successfully managed other home projects, attic wiring comes with unique challenges that can quickly become overwhelming or dangerous. The space is often cramped, poorly lit, and filled with insulation that can obscure potential hazards.
If you find yourself hesitating or feeling uncertain at any point, that’s your cue to pause. A professional electrician brings years of training, the right tools, and a deep understanding of safety codes to ensure the job is done correctly. They can assess your home’s entire electrical system to make sure it can support the new wiring, a step that’s often overlooked in DIY projects. Ultimately, hiring a pro protects your investment, prevents fire hazards, and gives you peace of mind that the work is safe for your family for years to come.
When the Job Gets Complicated
What started as a straightforward plan can get complex fast. You might pull back some insulation and discover old, brittle wiring, or realize your project requires a new circuit connected directly to your main electrical panel. If you’re unsure about any part of the process, it’s always best to consult a licensed electrician. Professionals are trained to handle the unexpected, from navigating tricky structural elements to ensuring your home’s system can handle the new electrical load. For any residential electrical services that go beyond simple replacements, getting an expert opinion can save you from costly and hazardous mistakes.
If You Need Permits or Inspections
Most significant electrical work requires a permit from your local municipality to ensure it complies with the National Electrical Code and local regulations. Navigating the permit process and scheduling inspections can be a job in itself. Professional electricians are familiar with the specific requirements in communities across our service areas, from Chester County to Bucks County. Even if you feel confident doing the wiring yourself, you should always have a qualified electrician inspect your work and make the final connections. This final check ensures everything is safe, up to code, and will pass inspection without any issues.
Warning Signs It’s Time to Call a Pro
Listen to your gut—and watch for clear warning signs. If the job feels physically too difficult, with extreme heat, dust, or tight spaces making it unsafe to work, it’s worth calling a professional. You should also stop immediately if you uncover signs of existing electrical problems, such as scorch marks on beams, buzzing sounds from outlets, or frayed wiring. These are red flags that point to deeper issues that need an expert diagnosis. Attempting to fix them without the proper knowledge can be dangerous. When you see something that doesn’t look right, it’s time to call for professional electrician repairs.
Keeping Your Attic Wiring Safe for Years to Come
Attic wiring is often out of sight, out of mind. But just because you don’t see it every day doesn’t mean it can be ignored. Over time, things can change up there—insulation gets moved during other home projects, pests might decide to visit and chew on wires, or you might start using the attic for storage, creating new risks for the electrical system. A little bit of preventative maintenance goes a long way in ensuring your home stays safe for the long haul. Think of it as a quick health check-up for your home’s electrical system. Performing a simple visual inspection once or twice a year can help you spot potential problems before they become serious hazards. You don’t have to be an expert to notice when something looks off, and knowing what to look for is the first step in keeping your family and your property protected. This isn’t about doing the work yourself, but about being an informed homeowner who can identify when it’s time to call in a professional for a closer look. A safe electrical system is a core part of a secure home, and your attic is a critical piece of that puzzle. Taking a few minutes to peek into your attic can give you peace of mind and help you catch small issues before they escalate into costly or dangerous situations.
What to Check for Regularly
First, make sure all junction boxes are visible and have their covers securely fastened. These boxes protect sensitive wire connections, and they should never be buried under insulation where they can overheat or be hard to find. Next, look at how the cables are run. If you see wires stretched across the top of ceiling joists, they need to be protected by “guard strips”—usually small pieces of wood running alongside them. This simple step prevents the wiring from being stepped on or crushed by storage boxes. If you spot any issues, even minor ones, it’s always best to call for professional electrician repairs to get them sorted out safely.
Red Flags That Need Attention
Some issues are more than just minor fixes—they’re immediate red flags. Exposed Romex wiring that runs across joists without any protection is a major hazard. The same goes for wires located too close to attic openings or access hatches where they can be easily damaged. Another critical thing to check is the placement of wires near heat sources. Keep all wiring away from things like recessed lighting fixtures, which can get hot and create a fire risk. If you notice any of these problems, or experience flickering lights or unusual burning smells in your home, don’t wait. These are signs that you need professional help right away to assess your residential electric system.
Related Articles
- Hiring an Electrical Repair Service? Read This First
- How Much to Replace an Electrical Panel in 2025?
Frequently Asked Questions
What’s the main difference between wiring rules for an attic with stairs versus one with just a small access hole? The rules change based on how easily you can get into the space and use it. An attic with permanent stairs is considered “accessible,” meaning it’s more likely to be used for storage or foot traffic. Because of this, any wires running across the floor joists must be protected with guard strips to prevent damage. If your attic only has a small scuttle hole for access, the rules are a bit more relaxed, typically only requiring protection for wires near that opening.
Is it ever okay to drill through the big wooden beams in my attic to run a wire? You can often drill through solid wood joists, as long as you follow the rule of keeping the hole at least 1 ¼ inches from the edge of the wood. However, you should never drill through engineered wood products, like I-joists or roof trusses, without getting an engineer’s approval. These are specifically designed to support your home’s structure, and drilling a hole in the wrong place can seriously weaken them.
My attic has old wiring that looks different from the modern plastic-sheathed cable. What should I do? If you uncover old wiring, like knob-and-tube or brittle, fabric-covered cables, it’s best to stop your project and call a professional. Older systems have different safety requirements and can become fragile over time. A licensed electrician can properly assess its condition, determine if it can be safely integrated with a new circuit, or recommend a necessary upgrade to keep your home safe.
Why can’t I just lay the wire on top of the insulation to hide it? Leaving wires loose on top of insulation is a bad idea for a few reasons. First, it leaves the cable vulnerable to damage from pests or anyone moving around in the attic. Second, burying wires in deep insulation can cause them to overheat, creating a fire hazard. Electrical code requires wires to be properly secured to framing members, like joists and rafters, to keep them safe, organized, and cool.
I only need to add one outlet. Do I still need to worry about all these codes and permits? Yes, even small electrical jobs need to be done correctly and safely. The National Electrical Code doesn’t make exceptions for minor projects, because a single faulty connection can still pose a serious fire risk. Depending on your local rules, even adding one outlet may require a permit and inspection to ensure the work is done to a safe standard.