
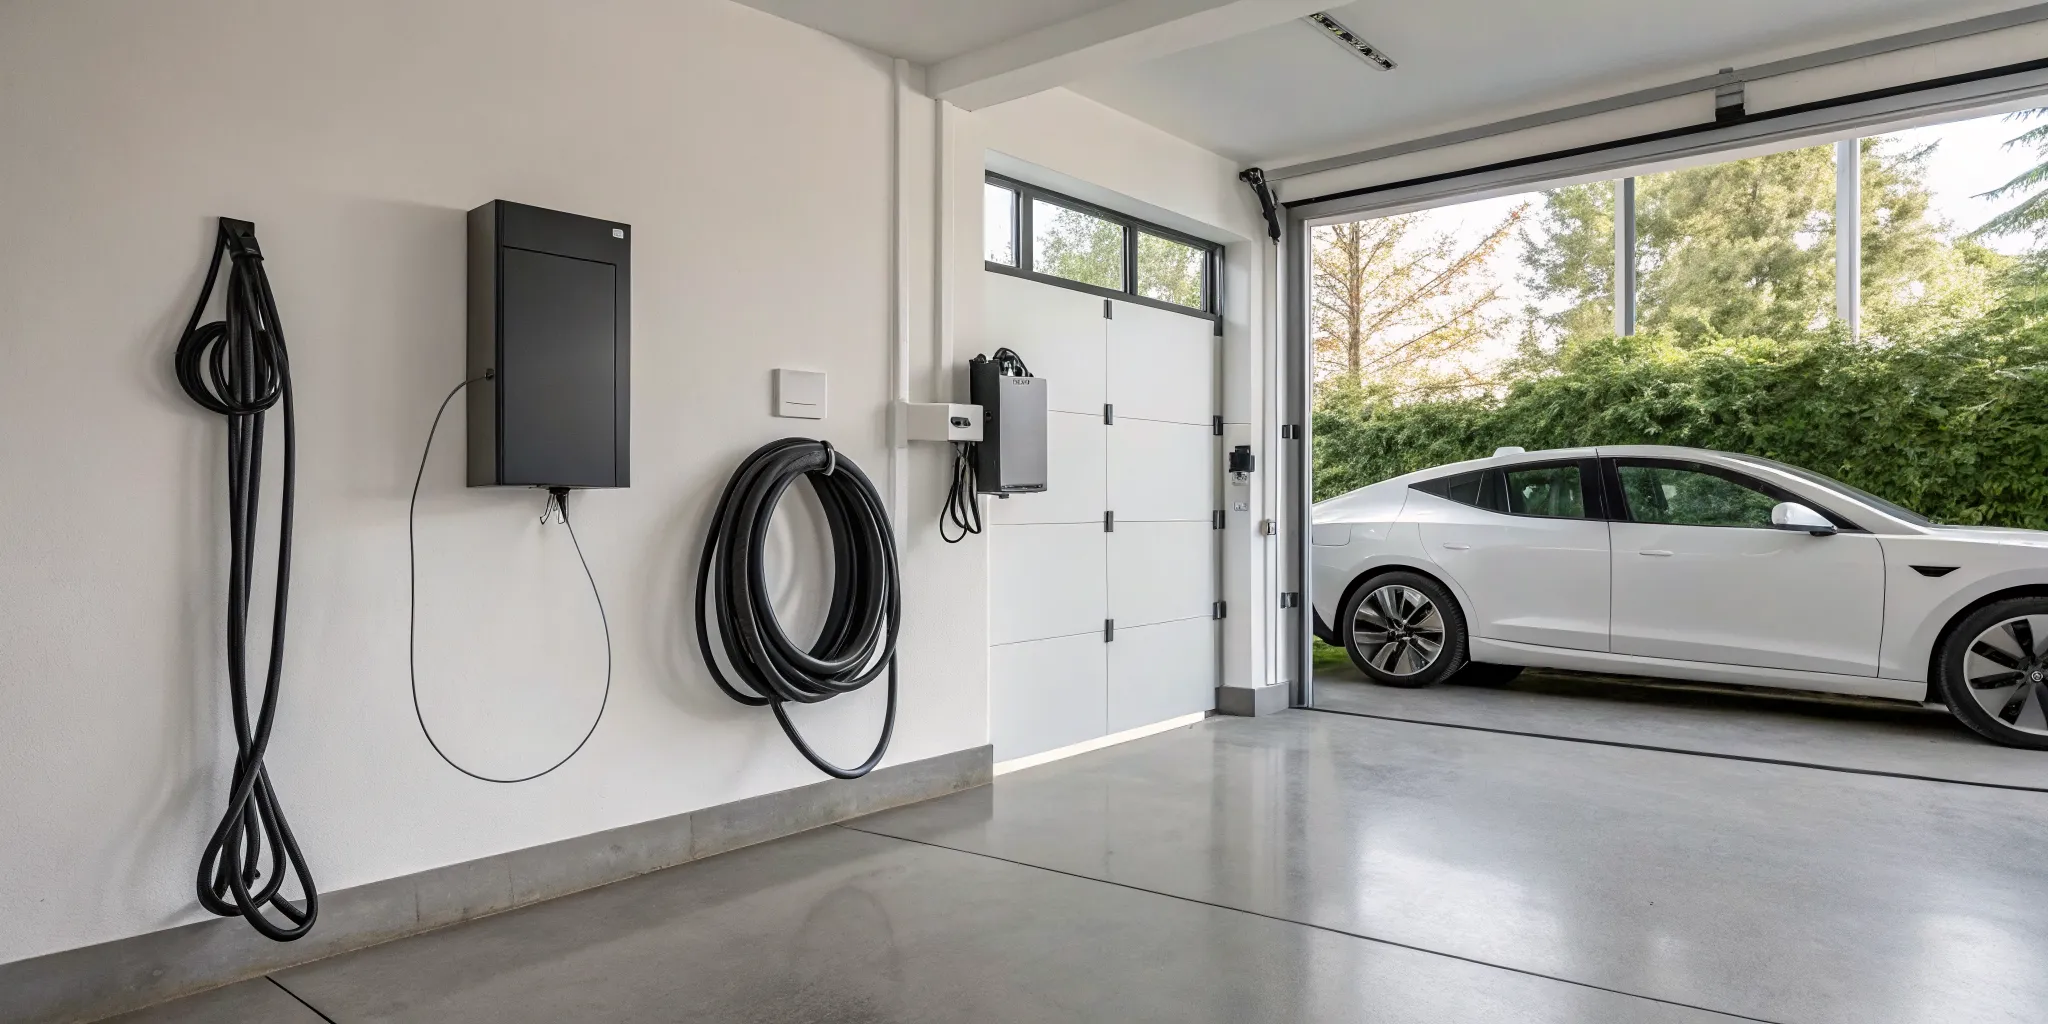
The single greatest benefit of owning an electric vehicle isn’t the quiet ride or the quick acceleration; it’s the freedom of waking up every day with a full “tank.” That convenience comes from having a Level 2 charger at home. It transforms your garage into your own personal fueling station, ending any reliance on public chargers for your daily driving needs. Of course, this upgrade isn’t free, and you’re likely wondering how much to install a level 2 charger at home. This guide will detail all the costs involved, helping you understand the price of admission to a life without range anxiety or wasted time at charging stations.
Key Takeaways
- Charge Faster at Home: A Level 2 charger is the best choice for daily EV use, allowing you to wake up to a fully charged battery every morning. It offers the perfect balance of speed and convenience, ending your reliance on slow wall outlets or public charging stations.
- Hire a Pro for a Safe Installation: The total project cost includes the charger, labor, and permits, so hiring a licensed electrician is non-negotiable. A professional will assess your electrical panel, ensure the work is up to code, and help you avoid dangerous installation mistakes.
- Look for Rebates and Tax Credits: You can significantly lower your out-of-pocket cost by taking advantage of financial incentives. Research the federal tax credit and check with your local utility provider for rebates before you begin the project.
What Is a Level 2 EV Charger?
If you’re an electric vehicle owner, you’ve probably heard about Level 2 chargers. Think of a Level 2 charger as the express lane for powering up your car at home. It operates on a 240-volt outlet, the same kind used for large appliances like an electric dryer or oven. This higher voltage is the key to its speed, allowing it to charge your EV significantly faster than a standard wall outlet.
Instead of the slow trickle of a Level 1 charger, a Level 2 unit can add about 25 to 40 miles of range for every hour it’s plugged in. This makes it a game-changer for daily driving, ensuring your car is ready to go each morning. Because it requires a special outlet and a dedicated circuit, installation is a job for a professional. An experienced electrician can handle the wiring and ensure your home’s electrical system is set up safely for fast, reliable charging.
Level 1, Level 2, and DC Fast Charging Compared
Understanding the different charging levels helps clarify why Level 2 is the top choice for homeowners.
-
Level 1 Charging: This is the most basic method, using a standard 120-volt household outlet. It’s incredibly slow, adding only a couple of miles of range per hour. While it works in a pinch or for plug-in hybrids with small batteries, it’s not practical for fully electric cars used for daily commuting.
-
Level 2 Charging: This is the sweet spot for home charging. It uses a 240-volt connection to deliver a much quicker charge, making it perfect for overnight use. You can wake up to a fully charged battery every day. It offers the ideal balance of speed, cost, and convenience for your home garage.
-
DC Fast Charging (Level 3): These are the superchargers you find at public stations along highways. They are incredibly powerful but are not suitable for home installation due to their massive power requirements and high cost.
How Home Level 2 Charging Works
The beauty of a home Level 2 charger is its convenience. The vast majority of EV charging happens right in your own garage or driveway, usually overnight. This approach is often the most cost-effective way to keep your vehicle powered up, letting you start every day with a full battery without having to plan trips to a public station.
Installing a Level 2 charger is more involved than just plugging it in. A qualified electrician will first assess your home’s residential electric system to see if your current electrical panel can handle the added load. From there, they will run the necessary wiring and install the 240-volt outlet. A professional handles all the technical details, including any required permits and inspections, giving you peace of mind that the job is done right.
Breaking Down the Cost of a Home Level 2 Charger Installation
Figuring out the cost of a home EV charger installation can feel a bit like solving a puzzle. The final price isn’t just about the charger you pick off the shelf; it’s a combination of the unit itself, the skilled labor to install it, local permits, and any necessary updates to your home’s electrical system. Understanding these different pieces will help you create a realistic budget and know exactly what you’re paying for. Let’s walk through each component so you can see how the total cost comes together.
The Charger Unit Itself
The first piece of your budget is the charging station. The price for a Level 2 charger can run anywhere from $300 to nearly $2,000, but most homeowners find a great fit in the $400 to $1,000 range. What causes such a wide gap? It comes down to features. Basic models will charge your car safely and efficiently, while premium units offer Wi-Fi connectivity, smart-scheduling apps, longer cables, and higher power outputs for a slightly faster charge. Think about what features are most important for your lifestyle. A qualified electrician can help you choose a charger that is compatible with both your vehicle and your home’s residential electrical system.
Professional Installation and Labor
This is where a licensed professional comes in, and it’s a cost you should never skip. The labor and materials for a standard installation typically range from $700 to $1,500. This covers the electrician’s expertise, the time to run a new dedicated 240-volt circuit from your panel to your desired location, and all the necessary parts like wiring, conduit, and a new breaker. When you factor in the charger and permits, most homeowners pay between $1,000 and $3,500 for the entire project. Hiring a pro ensures the job is done safely and correctly, protecting your home, your car, and your family.
Local Permitting Fees
Any time you do significant electrical work, your local municipality requires a permit. This isn’t just red tape; it’s a system designed to ensure the installation is safe and meets all building and electrical codes. Permitting fees for an EV charger installation are usually quite reasonable, often falling between $100 and $200, though they can range from $50 to $300 depending on where you live. A great benefit of working with an experienced contractor is that they handle the entire permitting and inspection process for you. They know the specific requirements across different service areas, which saves you a lot of time and potential headaches.
Potential Electrical Panel Upgrades
This is the biggest “if” in the cost equation. If your home’s main electrical panel is old, full, or doesn’t have enough capacity to handle the added load of an EV charger, you will need an upgrade. This is a crucial safety measure to prevent overloads and fire hazards. A panel upgrade can add $1,500 to $5,000 or more to your total project cost. An electrician will assess your panel during the initial consultation to determine if this step is necessary. While it’s a significant expense, a modern panel ensures your home’s electrical system can safely power your life today and in the future.
Key Factors That Influence Your Total Cost
When you budget for a Level 2 charger, it’s helpful to remember that the final price tag involves more than just the charger itself. Several key factors related to your home’s specific layout and electrical setup will shape the total cost of your project. Understanding these variables ahead of time can help you set realistic expectations and plan a smooth installation with your electrician. From the power capacity of your home to the spot where you park your car, here’s a look at what influences the bottom line.
Your Home’s Electrical Capacity
One of the first things a licensed electrician will check is your home’s main electrical panel. Many Level 2 chargers require a dedicated 40- to 60-amp circuit, and if your panel is already full or too old to handle the extra load, it will need an upgrade. You can often find your home’s total amperage on the main breaker switch. Most modern homes have at least 200 amps, which is usually sufficient. However, if your home is older or your panel is maxed out, upgrading your electrical system will be a necessary first step to ensure a safe and reliable charge.
Distance From the Panel to Your Car
The physical distance between your electrical panel and your desired charging location is a major cost factor. The farther away your car is parked from the panel, the more materials and labor are required for the installation. An electrician will need to run a heavy-gauge wire from the panel to the charger outlet or hardwired unit. A longer run means more copper wiring and conduit, as well as more time spent securing the cable, which will be reflected in the final cost. A shorter, more direct path is almost always the more budget-friendly option.
Your Chosen Installation Spot
Where you decide to install the charger also plays a role. A standard installation inside a garage is typically the most straightforward. However, if you need to install the charger outdoors, the project becomes a bit more complex. Outdoor installations require special weatherproof enclosures and components to protect the equipment from the elements. Additionally, if you want the wiring to be hidden inside walls or run underground, this will increase labor costs, as it may involve drywall work or trenching. A professional electrician can help you find a spot that is both convenient and cost-effective.
The Type of Charger You Choose
Finally, the charger unit you select will directly impact your total cost. Level 2 chargers come in a wide range of prices, with different features like Wi-Fi connectivity, smart scheduling, and varying power outputs. While it might be tempting to choose the cheapest option, it’s important to select a reputable, UL-certified charger that meets your vehicle’s needs. For daily driving, a Level 2 charger is far more practical than a basic Level 1 charger that plugs into a standard wall outlet. Your electrician can recommend a model that balances performance, features, and your budget.
Can You Save Money with Rebates and Tax Credits?
Absolutely. One of the best parts about making this home upgrade is that you don’t have to shoulder the entire cost alone. Several government and local programs are available to help make your Level 2 charger installation more affordable. It’s smart to look into these options before you start your project, as they can significantly reduce your out-of-pocket expenses. Let’s break down the main incentives available to you as a homeowner in Pennsylvania. Taking a few minutes to research these can save you a considerable amount of money.
Federal Tax Credits for Home Charging
The federal government offers a tax credit to help homeowners with the cost of their charging station. The Alternative Fuel Vehicle Refueling Property Credit allows you to claim 30% of the total cost, up to a maximum of $1,000. This isn’t just for the charger unit itself; it also covers the professional installation, wiring, and any other necessary components. When you file your taxes, you can apply this credit to lower the amount you owe. It’s a fantastic way to make the investment in home charging even more worthwhile. Just be sure to keep all your receipts for the equipment and labor.
Pennsylvania State and Local Incentives
On top of the federal credit, many Pennsylvania residents can find savings closer to home. Local utility companies across our service areas often provide their own rebates for installing a Level 2 charger or making necessary residential electric upgrades. These programs can change, so it’s a good idea to visit your specific utility provider’s website to see what current offers are available. Combining a local rebate with the federal tax credit can make a big difference in your total project cost. It’s an extra incentive for making the switch to more convenient home charging.
4 Common Installation Mistakes to Avoid
Getting a Level 2 charger is exciting, but a smooth installation is key to enjoying it without any hiccups. A few common missteps can turn a straightforward project into a costly and frustrating one. The good news is that they are all completely avoidable with a little bit of planning. Let’s walk through the four biggest mistakes I see homeowners make so you can sidestep them entirely and get your installation done right the first time.
1. Skipping the Panel Assessment
Before you even buy a charger, the very first step is to look at your home’s electrical panel. Think of it as the heart of your home’s electrical system. A Level 2 charger is a powerful device that needs its own dedicated circuit, and your current panel might not have enough space or capacity to handle it, especially in an older home. Skipping this assessment is a recipe for surprise costs. You might find out mid-installation that you need a major panel upgrade, which can significantly add to the final bill. A qualified electrician can perform a quick residential electric check to tell you exactly what your system can handle and what, if anything, needs to be updated.
2. Choosing an Impractical Location
It’s tempting to pick the most convenient spot for your charger right next to where you park, but location plays a huge role in your installation cost. The simple rule is this: the farther the charger is from your electrical panel, the more expensive the installation will be. This is because the electrician will need to run more heavy-gauge wiring through your walls, ceiling, or underground, which increases both material and labor costs. The ideal spot is a balance between convenience for daily charging and proximity to your panel. An experienced electrician can help you map out the most efficient and cost-effective route, ensuring your charger ends up in a practical place without breaking the bank.
3. Ignoring Local Permits and Codes
I get it, dealing with permits can feel like a hassle. However, trying to sidestep local building codes is a major mistake. Electrical work is regulated for your safety. An improper installation can create a serious fire hazard or damage your vehicle’s expensive battery. Plus, if you skip the permit and inspection process, you could face fines, be forced to tear out the work, or even have a claim denied by your homeowner’s insurance. A professional electrical contractor understands the specific requirements for the communities they serve, from Chester County to Bucks County. They will handle all the necessary paperwork and ensure your installation is safe, compliant, and up to code, giving you complete peace of mind.
4. Not Planning for Future Needs
When planning your installation, think about your needs not just for today, but for five or ten years from now. Are you a one-EV family, or might you add a second electric vehicle in the future? Your current car might only need a 40-amp circuit, but what if your next one requires more power? If you’re already upgrading your electrical panel, it’s often wise to install one with a little extra capacity. This kind of future-proofing can save you from repeating the entire expensive process all over again in a few years. A small additional investment now can ensure your home is ready for the next wave of EV technology without another major overhaul.
Should You Hire a Licensed Electrician? (Yes, and Here’s Why)
When it comes to installing a Level 2 charger, you might be tempted to try a DIY approach to save some money. I get it. But this is one of those projects where calling in a professional is the only right answer. Installing a 240-volt appliance is a major electrical job, not a simple plug-in upgrade. It involves working directly with your home’s electrical panel and high-voltage wiring, where a small mistake can lead to big problems like electrical fires, damage to your new car, or serious injury.
Hiring a licensed electrician isn’t just about getting the job done; it’s about ensuring it’s done safely, correctly, and legally. A professional has the training to assess your home’s specific needs, handle the complexities of the installation, and guarantee the work is up to code. Think of it as an investment in the safety of your home, the longevity of your EV, and your own peace of mind. It’s the smartest first step you can take in your home charging journey.
The Importance of Professional Installation
Installing a Level 2 charger almost always means making changes to your home’s electrical system. It’s not as simple as hanging the unit on the wall. A professional electrician will start by assessing your electrical panel to confirm it can handle the added load of the charger. If it can’t, they’ll know the safest way to upgrade it. They ensure the new 240-volt circuit is wired correctly, which is critical for preventing overloads and potential fire hazards. As the EPA notes, this professional check is a key part of a safe installation. Proper installation also protects your EV’s battery and your manufacturer’s warranty, which can be voided by DIY work.
Managing Permits, Inspections, and Codes
In most areas, installing a new electrical circuit requires a permit from your local municipality. This isn’t just red tape; it’s a system designed to keep you safe. A licensed electrician will manage this entire process for you. They know exactly what permits are needed in your town and will handle the paperwork and schedule the required inspections. This ensures your new charger installation is fully compliant with all local and national electrical codes. Skipping this step is risky. It can lead to fines, and if an unpermitted installation causes a fire, your homeowner’s insurance may refuse to cover the damages. Working with a pro who knows the local code is essential.
How to Choose the Right Electrical Contractor
Once you’ve decided to hire a pro, the next step is finding the right one. Start by looking for a licensed and insured electrical contractor with specific experience installing EV chargers. Ask friends or neighbors for recommendations, and check online reviews. When you contact a potential contractor, ask for a detailed, written estimate that breaks down all the costs. A trustworthy electrician will be transparent about their pricing and process. You want to find a team with a long-standing reputation for quality work and reliable service in your community. This ensures you have support not just for the installation, but for any future electrical needs.
Is a Home Level 2 Charger Worth It?
This is the big question, isn’t it? After investing in an electric vehicle, the idea of another expense for a home charger can feel like a lot. But looking at the installation cost is only half the picture. A Level 2 charger is more than just an accessory for your car; it’s an upgrade for your home and your lifestyle. When you weigh the initial cost against the daily convenience, long-term savings, and potential increase in your property’s value, the answer becomes much clearer. Let’s break down the three biggest benefits to help you decide if it’s the right move for you.
Enjoy Faster, More Convenient Charging
The difference between a standard Level 1 charger and a Level 2 charger is night and day. A Level 1 charger, which plugs into a regular wall outlet, can take over 24 hours to fully charge your car. A Level 2 charger, on the other hand, works much faster. It uses a 240-volt outlet, similar to an electric dryer, and can add 25 to 40 miles of range per hour of charging. This means you can easily get a full charge overnight, every night. Imagine waking up every morning with a “full tank,” ready for any commute or road trip without a second thought. You can say goodbye to range anxiety and time-consuming trips to public charging stations.
Potentially Increase Your Home’s Value
Installing a Level 2 charger is a smart investment in your property. As electric vehicles become more popular, a home with a built-in EV charger becomes significantly more attractive to potential buyers. Think of it as a modern, essential amenity, like a renovated kitchen or a high-efficiency HVAC system. Research shows that homes with EV chargers can sell faster and for a higher price than comparable homes without them. It signals to buyers that your home is future-proof and ready for the next wave of technology. This single upgrade can make your property stand out in the market, providing a tangible return on your investment when it’s time to sell.
Lower Your Long-Term Fueling Costs
While there’s an upfront cost for the unit and professional installation, a home Level 2 charger is your ticket to the cheapest “fuel” around. Public charging stations, while convenient on the road, often come with premium pricing. Charging at home is consistently more affordable, especially if your utility company offers lower rates during off-peak hours overnight. Over time, the money you save by skipping the gas station and expensive public chargers adds up, allowing the installation to pay for itself. By taking control of your charging, you can significantly lower your vehicle’s running costs. A professional residential electric installation ensures it’s done safely and efficiently, maximizing your savings from day one.
Related Articles
- Home Car Charger Installation: A Step-by-Step Guide
- EV Charger Installation Cost Guide 2025 | M.T. Ruhl Electrical
- EV Charger Installation Cost: A 2025 Breakdown
- Top Electrician in Chester County for EV Chargers
Frequently Asked Questions
Will any Level 2 charger work with my specific electric car? For the most part, yes. The good news is that nearly all non-Tesla electric vehicles use a universal connector called the J1772. Most Level 2 chargers on the market come with this connector, so compatibility is rarely an issue. If you drive a Tesla, you will need an adapter to use these chargers, which usually comes with the car. The more important factor is matching the charger’s power output (amperage) to what your car can handle to ensure you get the fastest possible charge speeds.
How do I know for sure if my electrical panel needs an upgrade? You can get a general idea by looking at the main breaker in your electrical panel, which is often at the top. It will have a number on it like 100, 150, or 200, indicating your home’s total amperage. While a 200-amp service is usually sufficient, this number doesn’t tell the whole story. The only way to know for certain is to have a licensed electrician perform a load calculation. They will assess how much power your home currently uses to determine if your panel can safely support the added demand of an EV charger.
How long does a typical Level 2 charger installation take? A standard installation is surprisingly quick. If your electrical panel has enough capacity and the charger is being placed in a straightforward location like a garage near the panel, a professional electrician can often complete the job in just a few hours. However, if the project is more complex and requires a panel upgrade, significant wiring through finished walls, or outdoor trenching, it could take a full day or more to finish the work safely and correctly.
What if I rent my home? Can I still get a Level 2 charger? It is possible, but it requires clear communication and permission. You must get written approval from your landlord before making any electrical modifications to the property. Some landlords are open to the upgrade, especially since it adds value to their property. In a rental situation, you might consider a plug-in Level 2 charger instead of a hardwired one. This gives you the option to unplug the unit and take it with you when you move, provided the landlord agrees to the 240-volt outlet installation.
Is it better to get a plug-in charger or a hardwired one? Both options provide the same great charging performance, so the best choice depends on your situation. A plug-in charger connects to a 240-volt outlet, similar to an electric stove, offering a bit more flexibility if you ever want to move it. A hardwired charger is connected directly to the circuit, creating a more permanent and tamper-proof installation. Hardwiring is often the required choice for outdoor installations to ensure everything is completely weatherproof and secure.